Quality control
KLGS Sp.z o.o. offers complete quality control of all its products through process control and control of the product properties in every phase of the production processes.
For us, the individual requirements of the customer are the most important guidelines for the design of the process and the control and measuring devices.
We offer a comprehensive service in the field of research in the selection of the material for the product as well as all necessary strength, physico-chemical and aging tests.
To assess the quality of the parameters of the injection molding details we use, we use:
- Digital image analysis to measure product dimensions and shape defects.
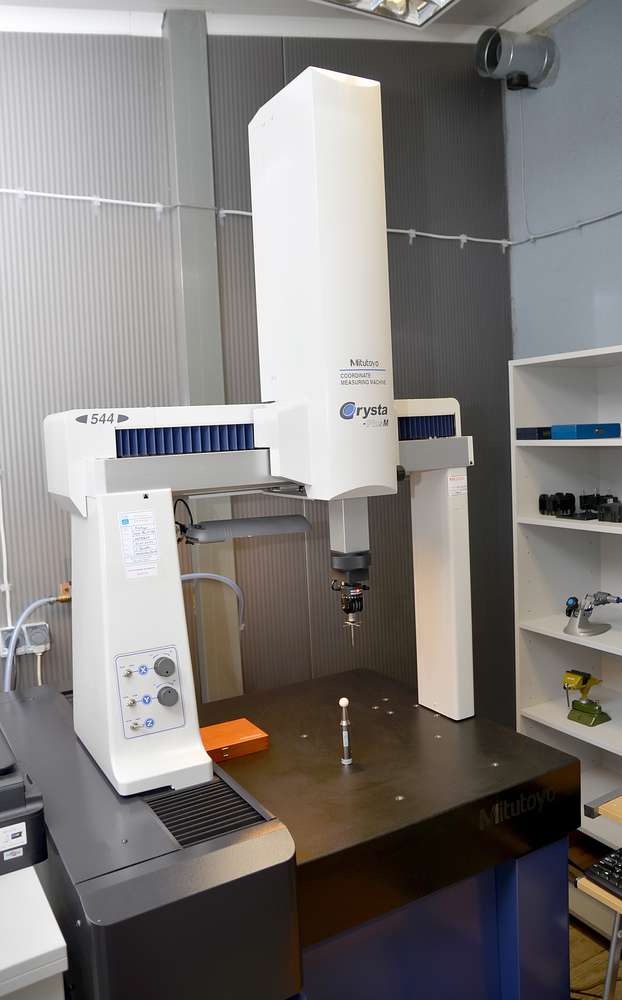
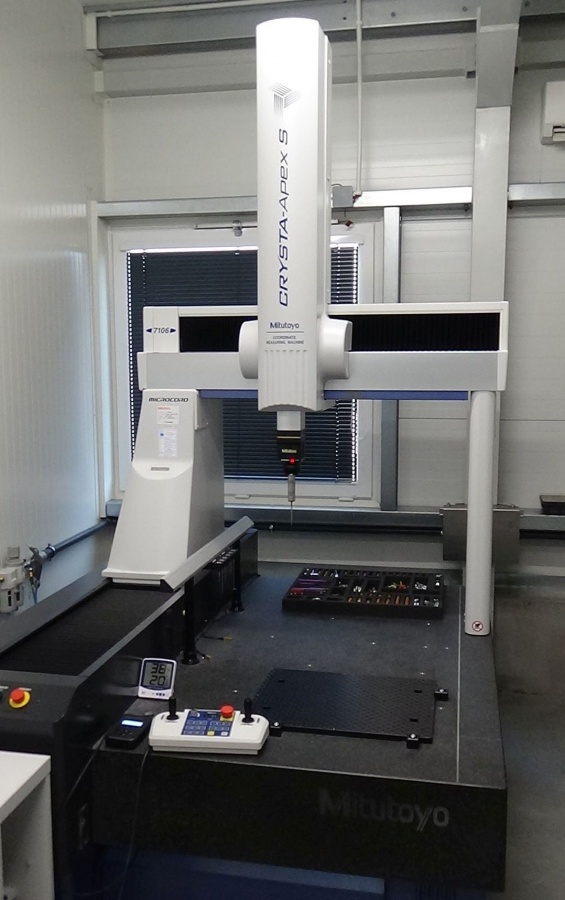
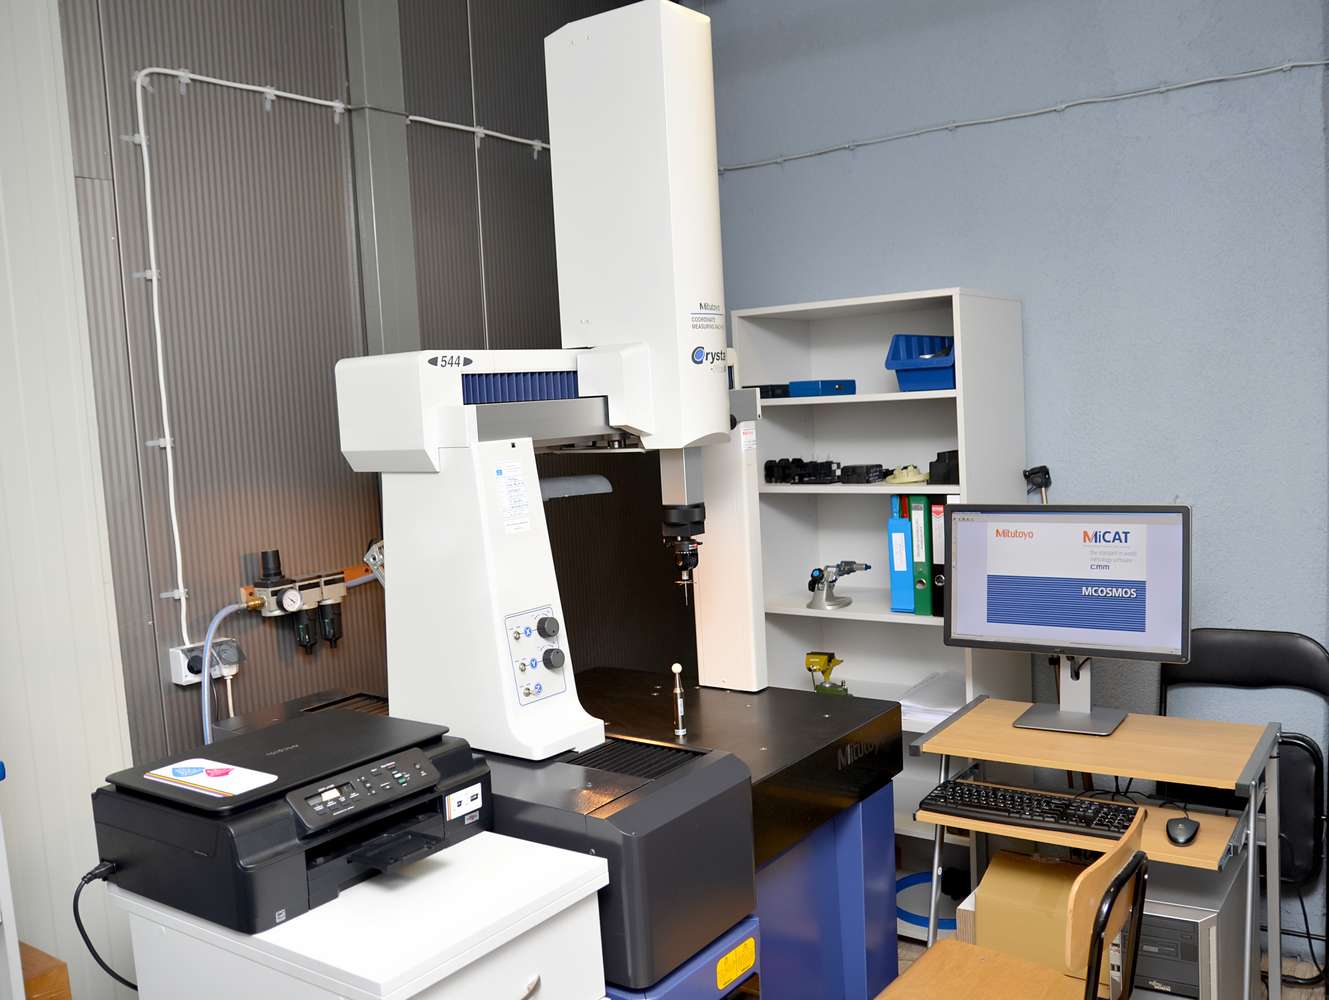
- Measurement of geometrical and dimensional parameters of a workpiece with a modern 3D coordinate measuring machine
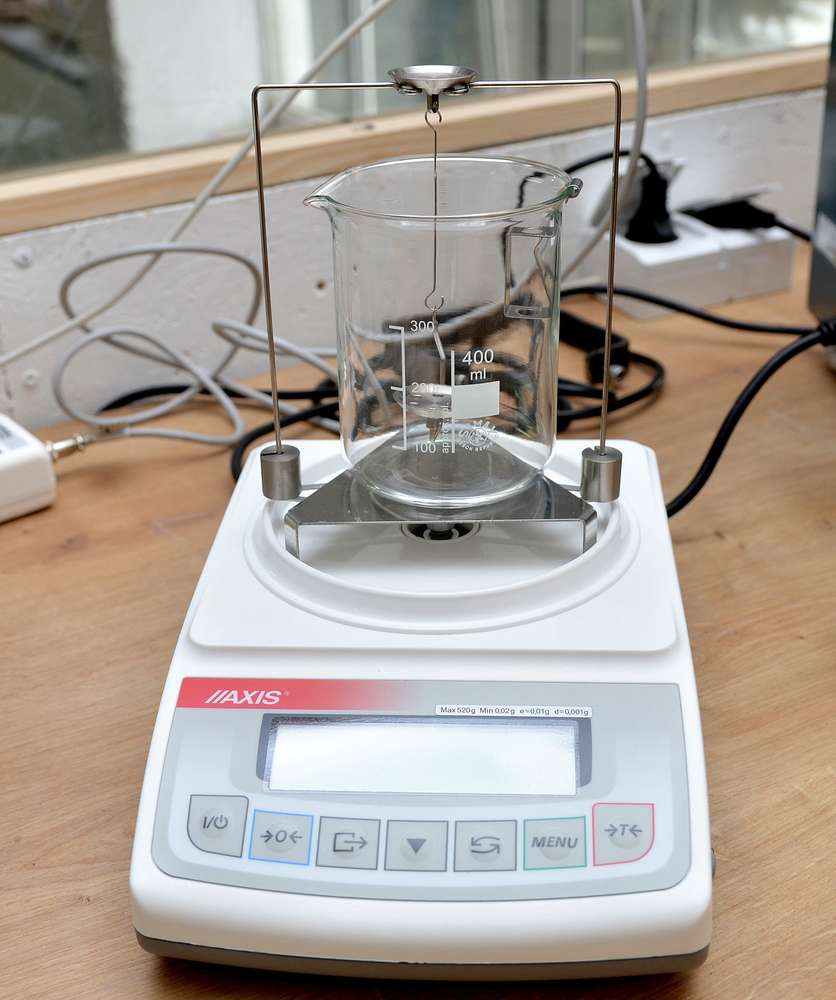
- Electronic mass measurement
- Density measurement for the entire product
- Uniformity of the surface hardness distribution of the composite material
- Digital image analysis for visual evaluation
- Testing of selected mechanical properties of the product
- Hardness measurement
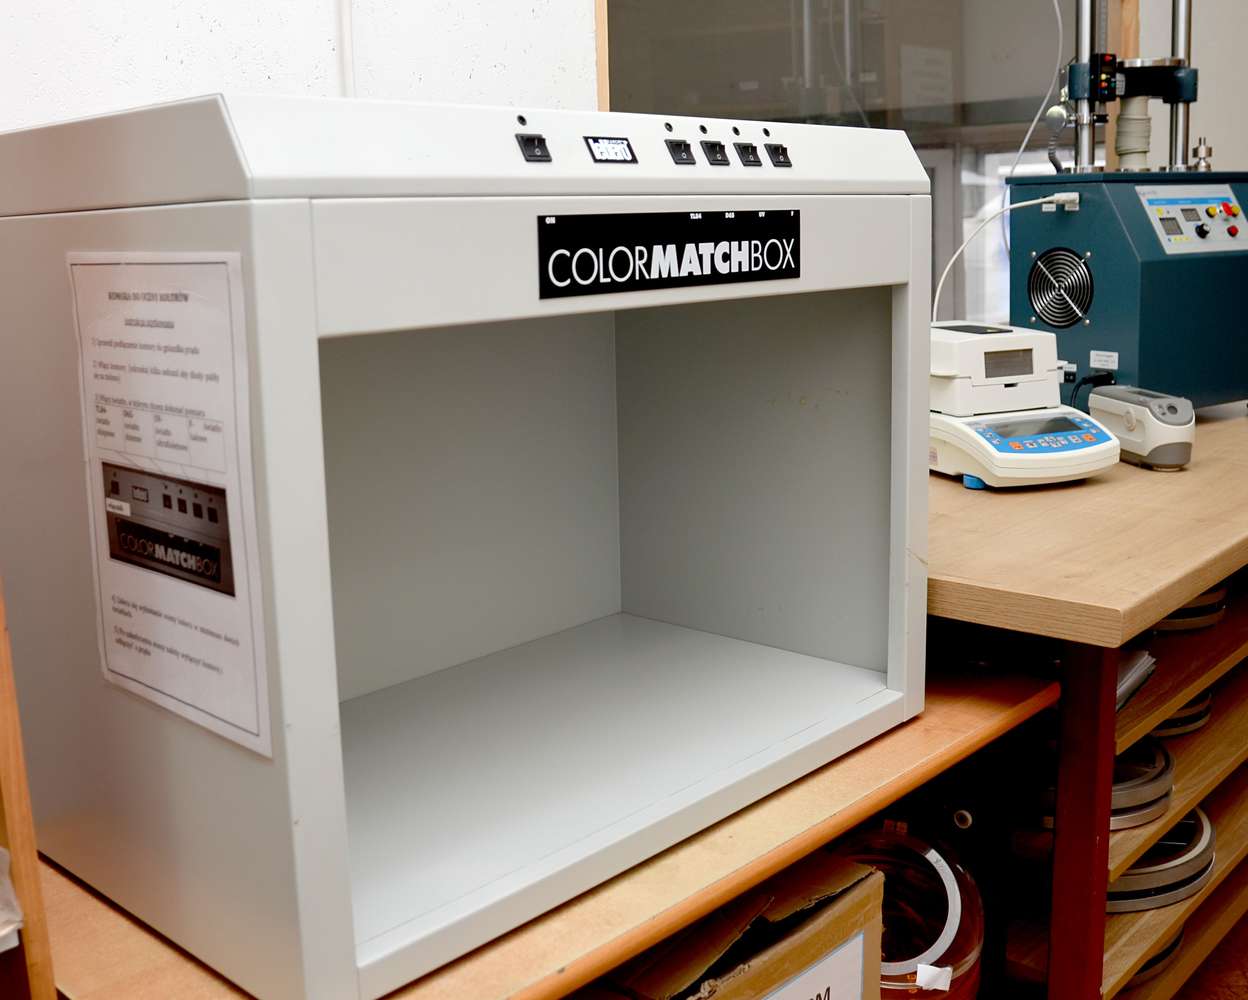
- Color measurement
- Gloss measurement
We also offer control of material parameters in the form of granules:
- Density measurement
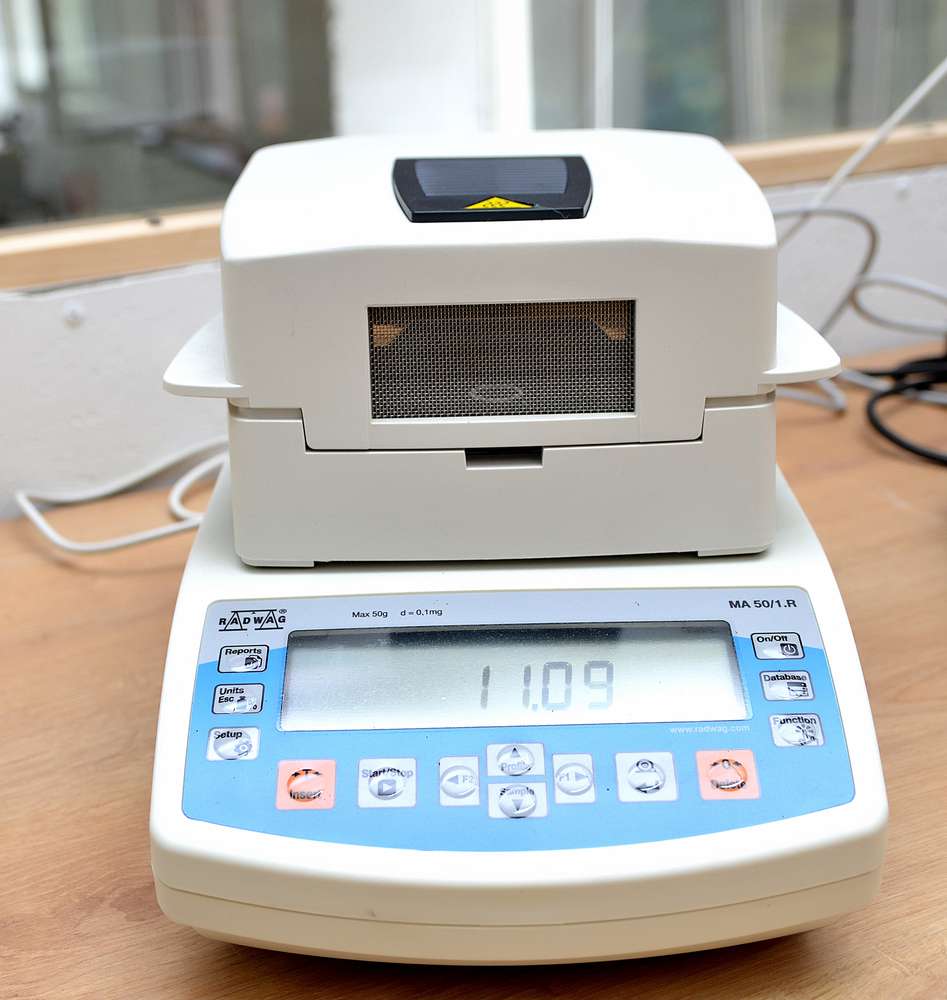
- Moisture measurement
- Measurement of the MFI flow rate
We use quality and control instruments such as:
- Product approval process (PPAP)
- Extended Product Quality Planning (APQP)
- Analysis of the causes and effects of potential errors (FMEA)
- Control plan
- Process flowchart
- Analysis of measurement systems (MSA)
- Statistical process control (SPC)
- 8d report, 5why analysis, Ishikawa chart
- Poka-yoke
- Andon
- Kaizen
| Lp | Equipment name | Basic parameters |
| 1. | Coordinate measuring machine MITUTOYO Crysta-Apex S 7106 | Drive: CNC Measuring range: X-700, Y-1000, Z-600 [mm] MPEE error 0 = 1.7 + 4L / 1000 [µm], L [mm] Measuring head: PH10MQ + SP25M + SM25-2 Item weight max: 1000 kg Curb weight 1951 kg Software: MCOSMOS-3 v4.2 Year of production: 2018 |
| 2. | Coordinate measuring machine MITUTOYO Crysta-Plus M 544 | Drive: manual Measuring range: X-500, Y-400, Z-400 [mm] MPEE error 0 = 4 + 5L / 1000 [µm], L [mm] Measuring head: MH20i + TP20 Item weight max: 180 kg Curb weight 512 kg Software: MCOSMOS-3 v4.2 Year of production: 2008 |
| 3. | Konica Minolta CM-2600d spectrophotometer | Device type: portable Scattering ball diameter: fi 52 mm Wavelength range: 360 – 740 nm Spectral resolution: 10 nm Light source: 3 xenon flash lamps UV regulation CIE Observer: 2 and 10 Measurement time: approx. 1.5 – 2.0 s Illuminant: CIE: A, C, D50, D65, F2, F6, F7, F8, F10, F11, F12 (it is possible to combine two illuminants) |
| 4. | Stripping machine: SAUTER TVM10KN12N | Maximum breaking force: 10,000 N Movement speed: 10-120mm / min Max travel path: 214mm Curb weight 58 kg |
| 5. | RADWAG MA50 / 1.R Moisture Analyzer | Maximum load: 50g Readability [d] 0.1 mg Maximum drying temperature 160 ⁰C Accuracy of sample humidity measurement 0.01% (0.001% for samples> 1.5 g) |
| 6. | Carl Zeiss Jena workshop microscope | Measuring range: 150 x 50 mm digital readout: division 0.005 Rotary table fi 180mm |


